
Half Face Sugar Skull

Im back with another super easy halloween tutorial just in time for all your goolish weekend plans. I copied this look from one my friend found on pinterest (this one to be exact) and it was fairly simple to re-create!
What you will need:
White face paint
Black Face paint
2 or 3 different shades of grey eyeshadow
Black liquid eyeliner
small detail brush
Flat shader brush
Buffing Brush
Makeup sponge
My friend already had makeup on when I did this look so I applied over it but you can start with a bare face. I say this because she already had some bronze eyeshadow that I blended a little bit of grey into it in order to create a cooler toned eye look similar to the inspiration photo. I also added a little thicker liquid eyeliner wing.
To start apply white face paint all over your face, I found using a sponge made the application much easier. Also be aware you might have to apply a couple of layers to get an even white layer over your face. Next I mapped out the area for the eye, nose and stitched up cut. I then filled in the eye and nose with black face paint. Moving on to the cut I took my lightest shade of grey and blending out the line bringing it down towards her jawline. Once I was satisfied with the blending I went back in with a little bit darker grey eyeshadow and continued to blend. I repeated this process till I acheived the desired look.


I went back to working on the eye wanting to work my way down her face when it came to the liquid liner as to not accidentally smudge anything. Around the filled in eye I used the liquid liner to create the sort of abstract squares (I know I am terrible at descriptions). You could really do anything at this point there are a ton of examples out on the web and you can get really creative here. I filled in the squares with white paint then added dots into the squres using the liquid liner .

Moving back to the stitched up cut I used the liquid liner to go over the cut line I had created at the beginning. You want to start at the corner of your mouth and drag it up towards your hairline, the key is to make the line a little wavy and not perfectly straight. Once complete you can move on to adding the stiches by drawing on vertical lines along your cut line and be sure to add dots on either ends of the lines so they look more like "stitches". You are also going to bring those same stitches down across your lips. And that's the look! Like I said really easy to create and lots of room for your own creativity to shine through!

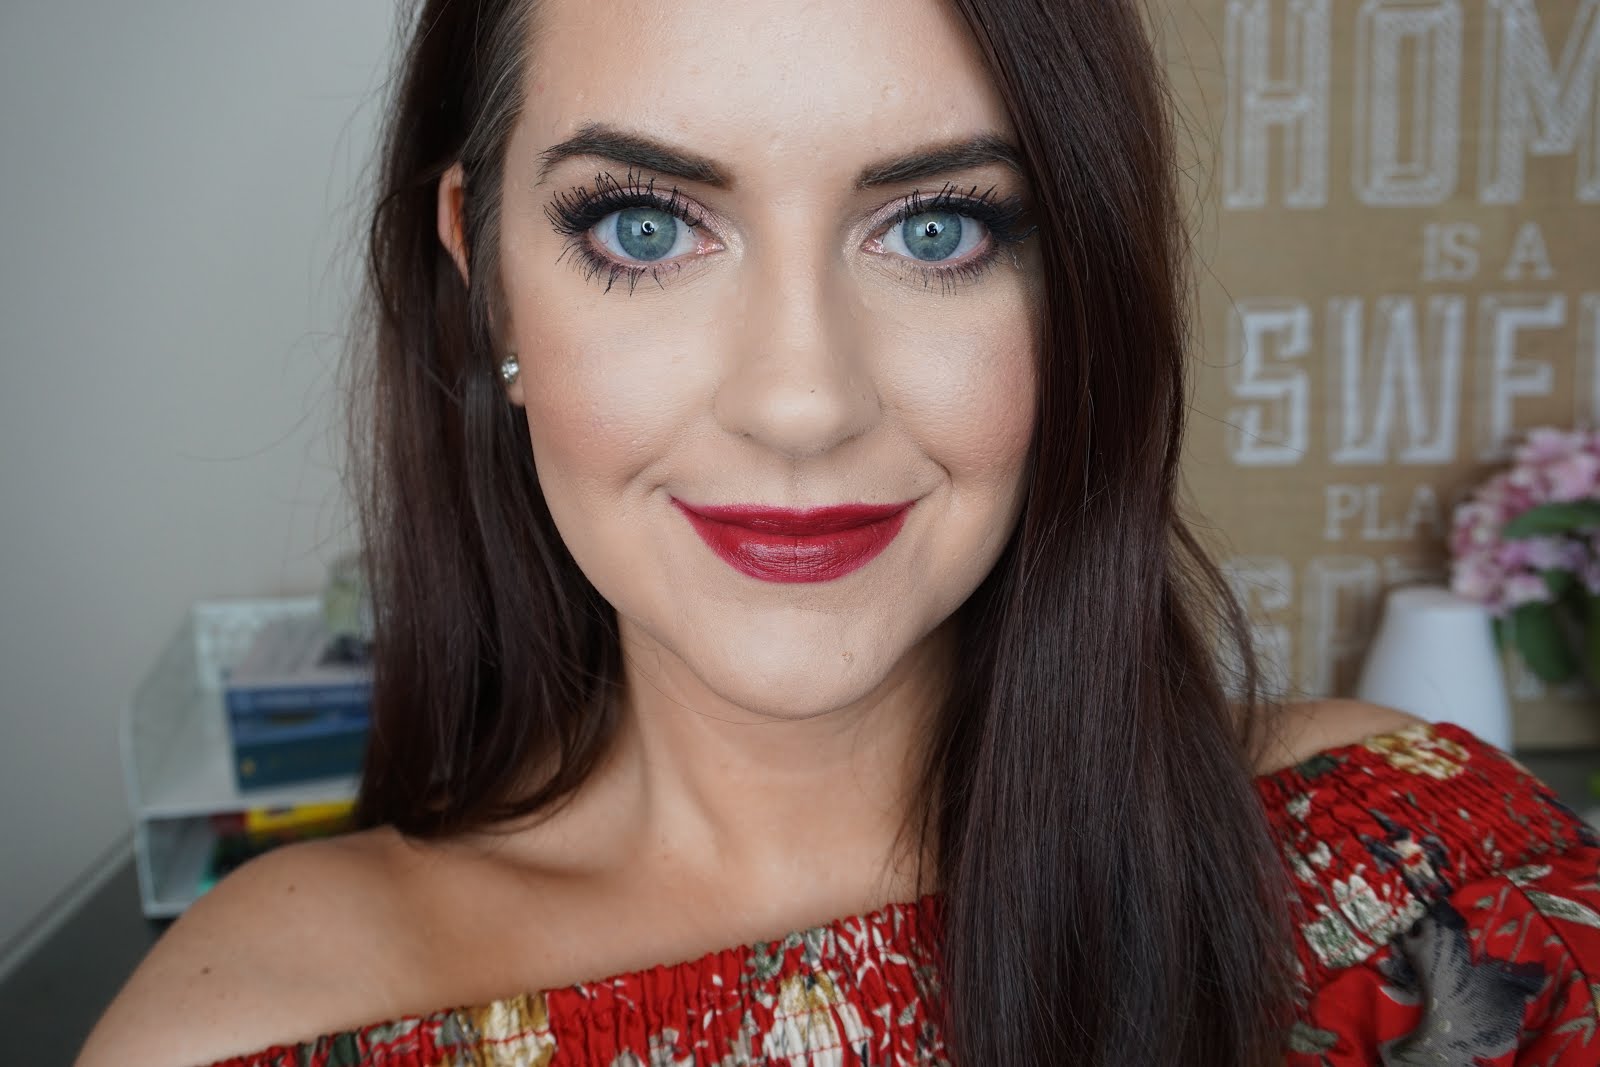
Here we are with our finished looks. (you can see more of my look here)

Easy Halloween Look
Thursday, October 29, 2015
Half Face Sugar Skull
Im back with another super easy halloween tutorial just in time for all your goolish weekend plans. I copied this look from one my friend found on pinterest (this one to be exact) and it was fairly simple to re-create!
What you will need:
White face paint
Black Face paint
2 or 3 different shades of grey eyeshadow
Black liquid eyeliner
small detail brush
Flat shader brush
Buffing Brush
Makeup sponge
My friend already had makeup on when I did this look so I applied over it but you can start with a bare face. I say this because she already had some bronze eyeshadow that I blended a little bit of grey into it in order to create a cooler toned eye look similar to the inspiration photo. I also added a little thicker liquid eyeliner wing.
To start apply white face paint all over your face, I found using a sponge made the application much easier. Also be aware you might have to apply a couple of layers to get an even white layer over your face. Next I mapped out the area for the eye, nose and stitched up cut. I then filled in the eye and nose with black face paint. Moving on to the cut I took my lightest shade of grey and blending out the line bringing it down towards her jawline. Once I was satisfied with the blending I went back in with a little bit darker grey eyeshadow and continued to blend. I repeated this process till I acheived the desired look.
I went back to working on the eye wanting to work my way down her face when it came to the liquid liner as to not accidentally smudge anything. Around the filled in eye I used the liquid liner to create the sort of abstract squares (I know I am terrible at descriptions). You could really do anything at this point there are a ton of examples out on the web and you can get really creative here. I filled in the squares with white paint then added dots into the squres using the liquid liner .
Moving back to the stitched up cut I used the liquid liner to go over the cut line I had created at the beginning. You want to start at the corner of your mouth and drag it up towards your hairline, the key is to make the line a little wavy and not perfectly straight. Once complete you can move on to adding the stiches by drawing on vertical lines along your cut line and be sure to add dots on either ends of the lines so they look more like "stitches". You are also going to bring those same stitches down across your lips. And that's the look! Like I said really easy to create and lots of room for your own creativity to shine through!
Here we are with our finished looks. (you can see more of my look here)


Post a Comment